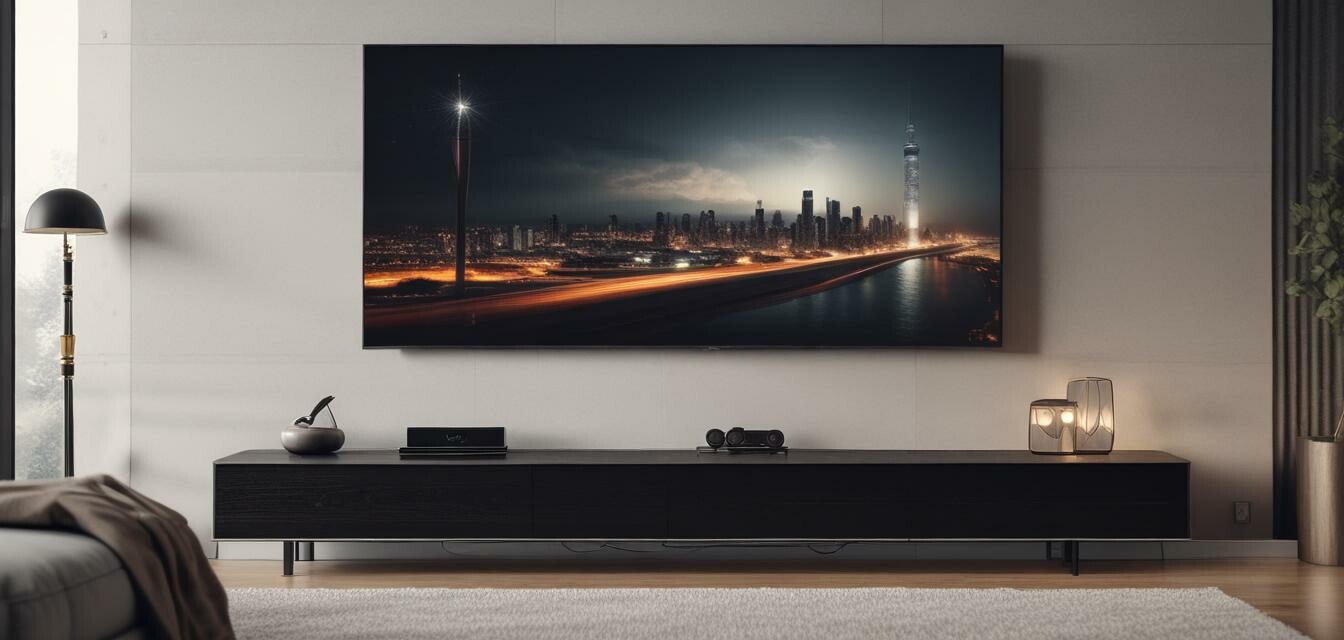
How to Mount a Soundbar Above Your TV
Key Takeaways
- Identify proper mounting height for optimal sound.
- Gather necessary tools and materials before starting.
- Follow step-by-step instructions for a secure installation.
- Consider cable management options for a clean look.
- Test the setup for ideal audio performance.
Mounting a soundbar above your TV can significantly enhance your home audio experience. This guide provides detailed step-by-step instructions to help you mount your soundbar securely without causing damage to your walls. Let's get started!
Why mount a soundbar?
Mounting a soundbar offers several advantages:
- Improved audio quality by aligning the soundbar with the TV speakers.
- Creates a clean, sleek look without cluttering the TV stand.
- Protects soundbars from accidental knocks or misalignment.
What you’ll need
Before you start, gather the following tools and materials:
- Stud finder
- Drill
- Screwdriver
- Mounting bracket (usually included with the soundbar)
- Level
- Tape measure
- Pencil for marking
Step-by-step guide to mounting your soundbar
Step 1: Choose the right height
The ideal height for mounting your soundbar is typically at ear level when seated. This is usually 36-42 inches from the floor. However, consider your TV size and seating arrangement to determine the best height.
Step 2: Locate the studs
Use a stud finder to locate the wooden studs in your wall. Mark these locations with a pencil, as they will provide a sturdy anchor point for your soundbar.
Step 3: Mark the mounting points
Position the mounting bracket on the wall where you want to install the soundbar. Use a level to ensure that it’s straight, and mark the screw holes with your pencil.
Step 4: Drill the holes
Drill holes into your marked locations, ensuring that you’re attaching them to the wall studs for a secure fit. If there are no studs, use wall anchors to ensure stability.
Step 5: Attach the mounting bracket
Securely attach the mounting bracket to the wall with screws, ensuring it is firmly mounted and level.
Step 6: Hang the soundbar
Once the bracket is attached, hang the soundbar onto the bracket according to the manufacturer's instructions. Make sure it snaps securely in place.
Step 7: Connect your devices
Connect the soundbar to your TV and other devices according to their connection requirements. This may involve HDMI, optical, or AUX cables.
Step 8: Cable management
To maintain a clean look, use cable clips or covers to hide any visible wires.
Step 9: Test your setup
Finally, test your soundbar to ensure optimal performance. Make adjustments to the settings as necessary to achieve the best audio experience.
Maintenance tips for your soundbar
To keep your soundbar in prime condition, consider the following maintenance tips:
- Regularly dust the surface to keep it looking clean.
- Check the connection cables periodically for wear and tear.
- If you experience audio issues, consult the user manual for troubleshooting tips.
Frequently Asked Questions
1. Can I mount a soundbar on a brick wall?
Yes, you can mount a soundbar on a brick wall, but you'll need masonry screws and a drill designed for brickwork.
2. Is it safe to mount my soundbar above a fireplace?
It's generally not recommended to mount a soundbar above a fireplace due to heat exposure, which may damage the unit over time.
3. What if my soundbar doesn't come with a mounting bracket?
You can purchase a universal mounting bracket designed to fit most soundbars; just ensure compatibility with your model.
Pros
- Improves sound quality by positioning sound closer to the listener.
- Helps in creating a professional and tidy home theater look.
- Reduces the risk of damage to the soundbar from clutter or pets.
Cons
- Potential damage to walls if not mounted properly.
- Higher costs if you need a professional installation.
- Not suitable for all wall types (e.g., drywall without studs).
Conclusion
Mounting your soundbar above your TV can greatly enhance your home entertainment system. By following these detailed steps, you can ensure a secure and aesthetically pleasing installation. For more tips and expert advice on optimizing your audio setup, check our Buying Guides and Soundbars with Subwoofers.